

Optional - Cut to desired size.
If making a design wall, it is best to use flannel fabric as it has a soft texture so quilt blocks and fabric patches will cling without pins. If making bulletin boards, any cotton or woven fabric should work.
Cut and/or piece fabric panels at least 6” bigger than the foam panels. I used the full size of 48” tall by 13 5/8” wide. 48+6=54” and 13.625+6=19.625”. Because cotton fabric is 42” wide, I split a yard and a half (54”) down the center for two 21” panels of polka dots. I only had a yard (36”) of the paint squares and I had about 18” of the dots left so I cut it into 4 pieces, each 9” y’all by 21” wide. I sewed these onto the tops and bottoms of the other fabric, which I also split in half lengthwise.
All together, four panels took 3 yards of fabric costing about $20, on sale.
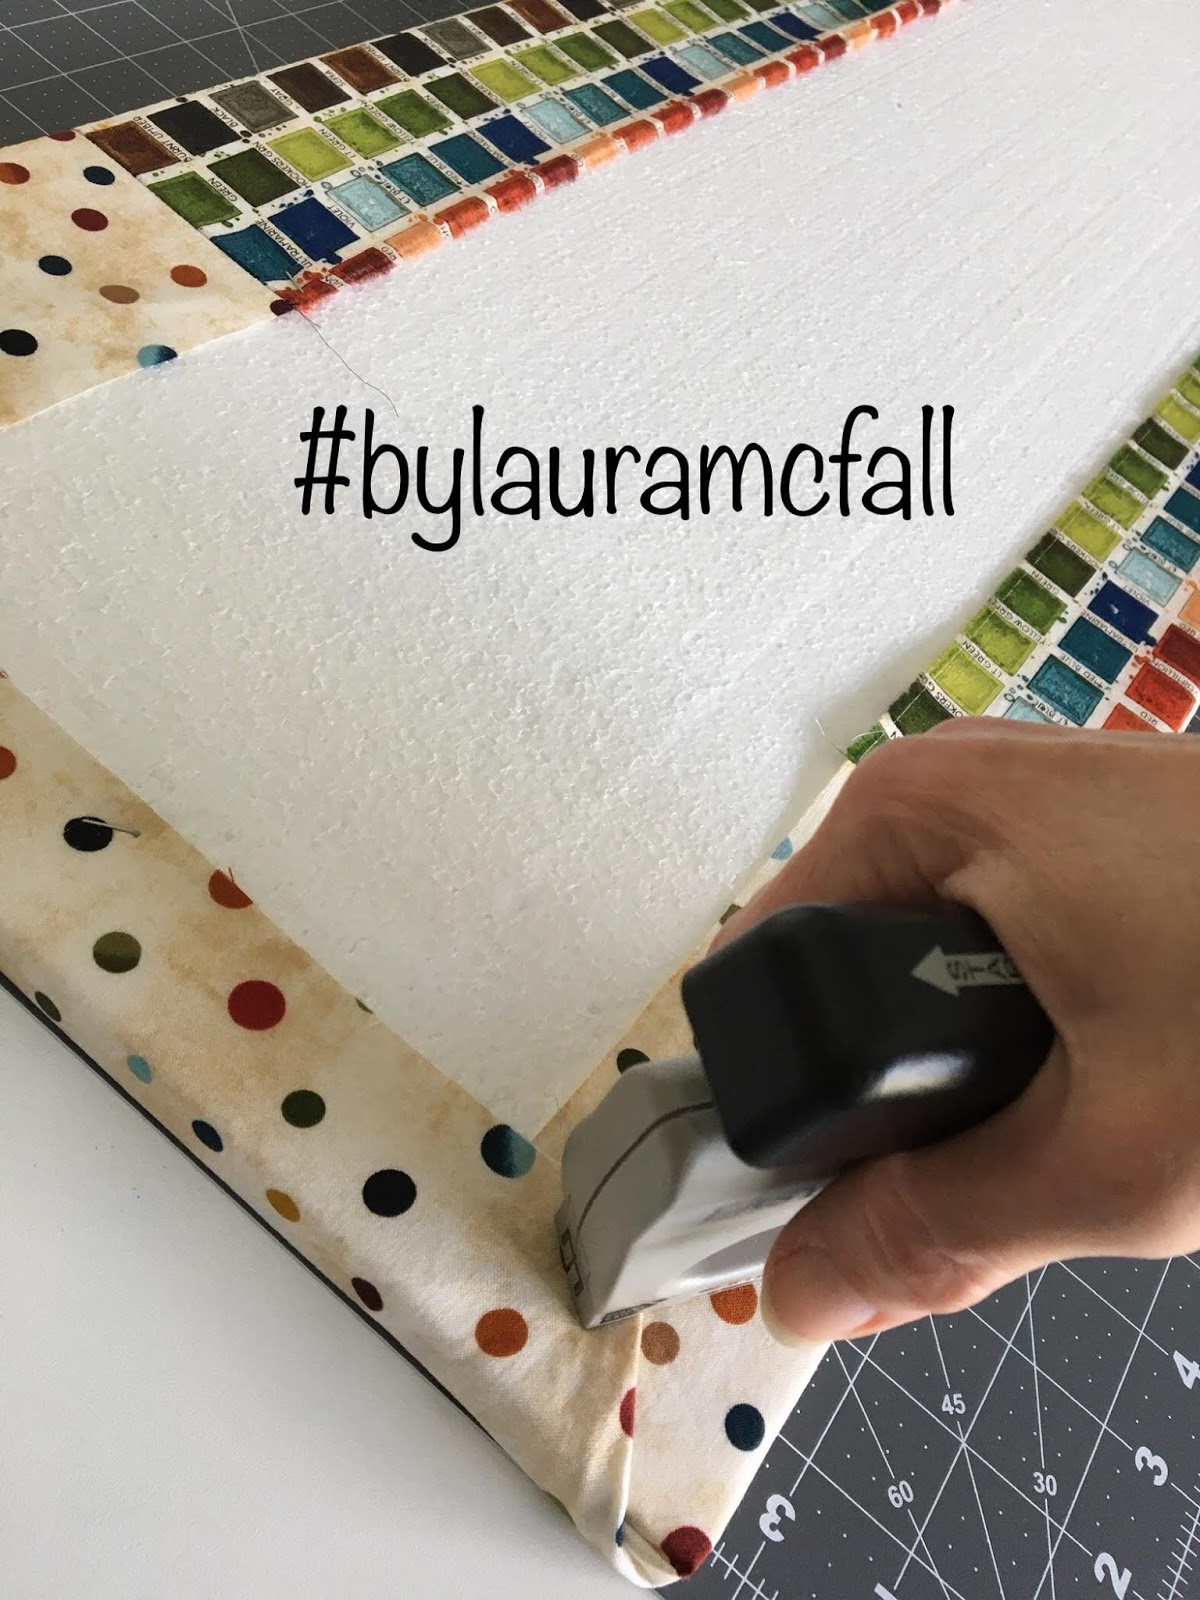
Center the foam pieces on the fabric panels and fasten with lightweight staples or thumbtacks. My staples would only go through 1-2 layers of fabric.


For added security, I put a layer of clear packing tape over the staples and edges of the fabric. This step might not be needed depending on your chosen method of adhering the fabric to the foam.


The final step is to add some sticky back Velcro to the top. I used 2.5-3” pieces at the top, about an inch down. Consider where the flat spots are on your door or wall and the desired placement of your boards. I stuck the soft loop side to the board and the rough hook side to the doors, but did not separate the pieces. I exposed the sticky part and stuck both board and Velcro all together.


Repeat steps for the desired number of panels and TA - Done!!! Your very own design wall for less than $50.


No comments:
Post a Comment